 button. The created client template will be displayed under Create ABL Client page.
 Client Maintenance / Client Template
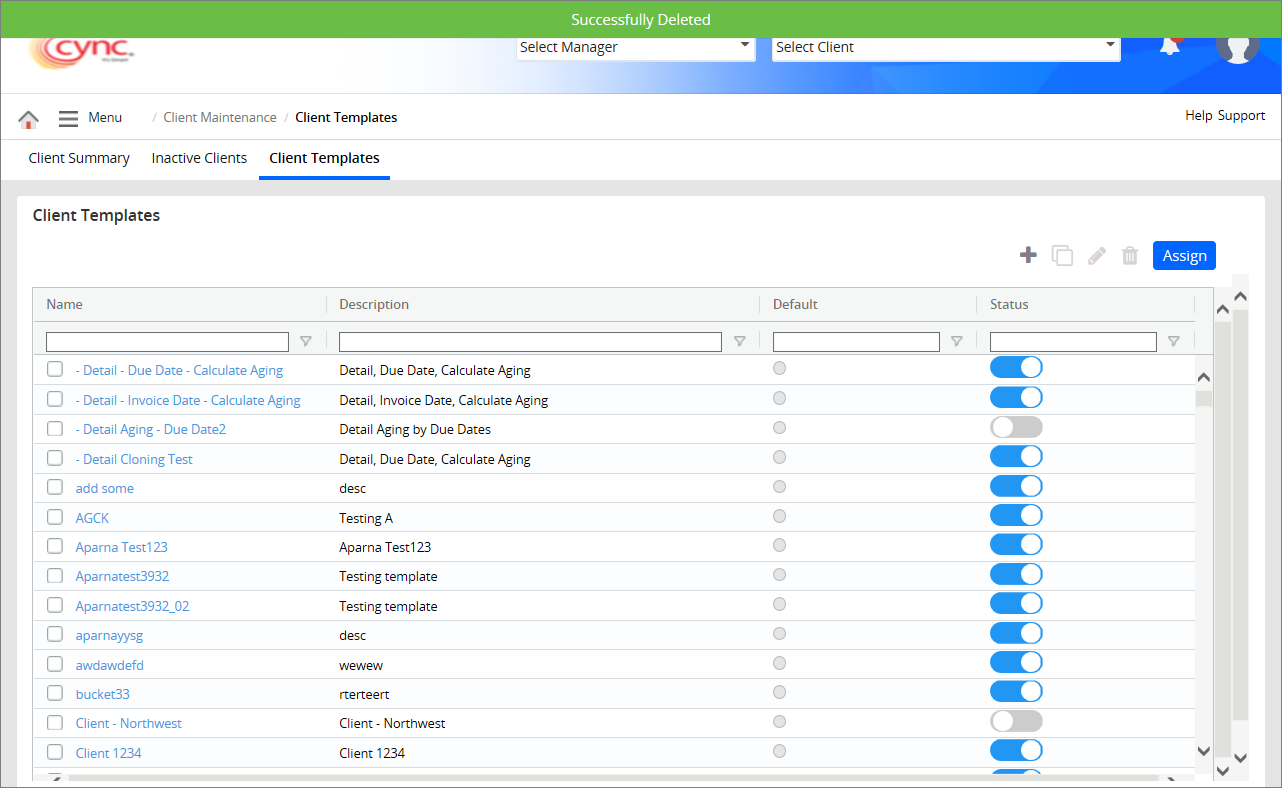
Client Template
The Client Templates page allows the user to create new client template, clone the existing template, edit the client template and delete the client template.
Users may also assign the client template to one client or multiple clients.
Users may edit the Basic Parameters, Ineligible Calculations and Bucket Aging for the created client template by clicking the button. The created client template will be displayed under Create ABL Client page.
Users may assign the client template while creating the new ABL Client under Create ABL Client page. The parameter settings such as Basic Parameters, Ineligible Calculations and Bucket Aging, are automatically updated for the client based on the client template selected under Create ABL Client page.
Navigation: Client Maintenance → Client Template
Refer to the screenshot:
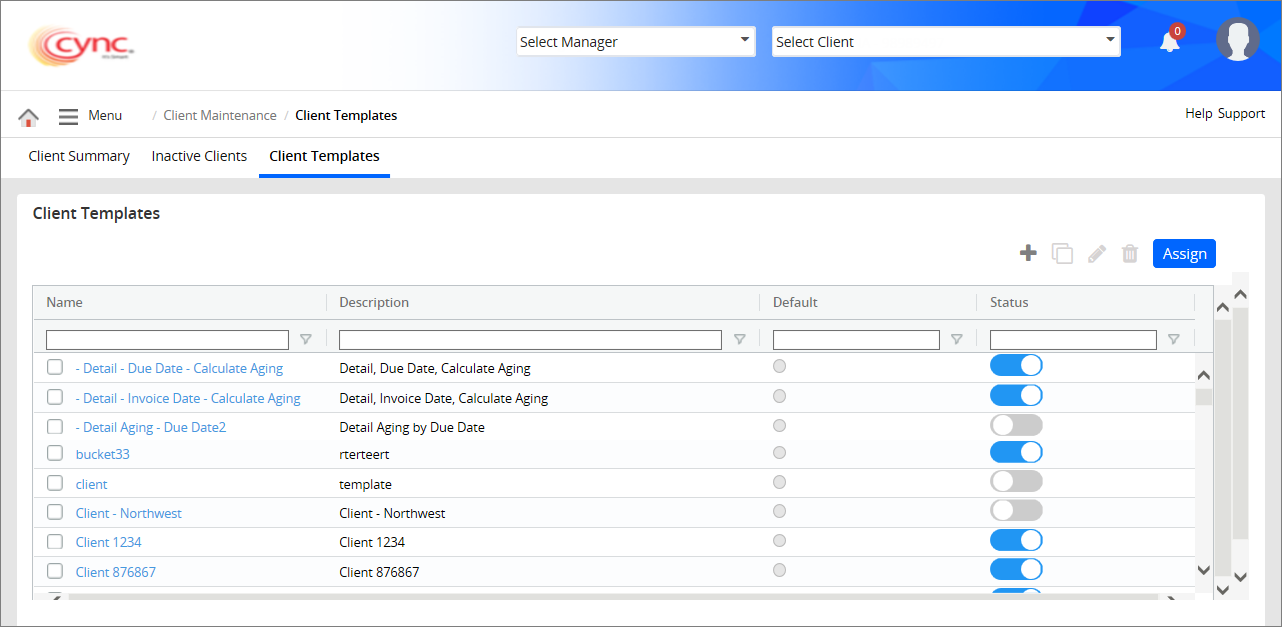
Fields and Descriptions
|
Fields |
Descriptions |
|
Name |
Displays the Client Template name. |
|
Description |
Displays the description of the Client Template. |
|
Default |
Displays if the client template is created as default or not. |
|
Status |
Displays the status of the client template such as Active or Inactive. |
To add new client template, perform these steps:
1. Go to Client Maintenance → Client Templates.
2. Click the  button to create new client template. An Add New Template page appears.
Refer to the screenshot:
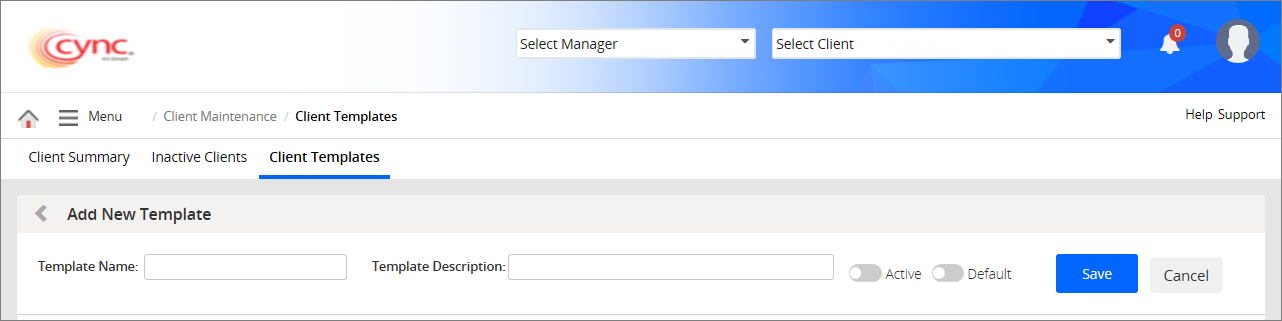
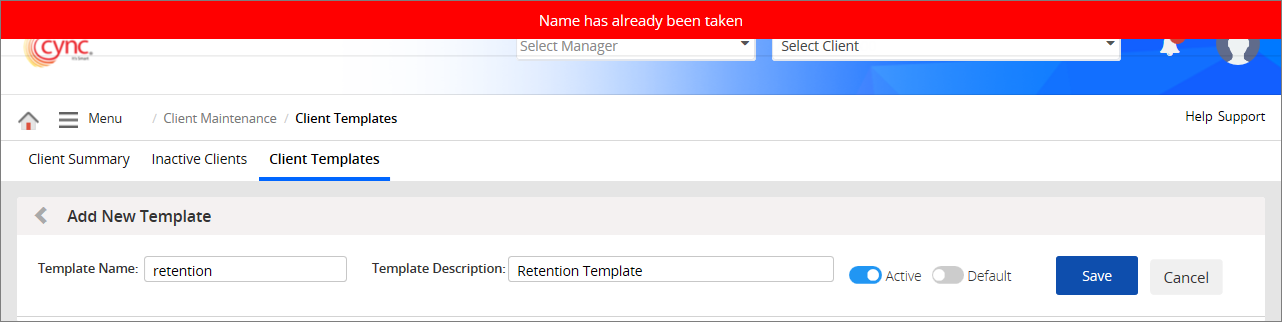
3. In Template Name field, enter the new template name for the client.
4. In Template Description field, enter any free form of text to describe about the client/client template creation.
5. Click ![]() Active button if you want to make the client template as Active.
Active button if you want to make the client template as Active.
6. Click  Default button if you want to make the client template as default. A pop-up screen appears.
Refer to the screenshot:
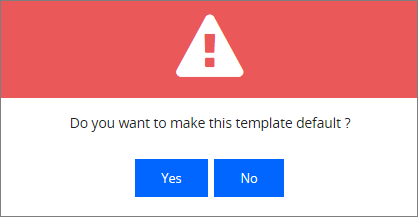
 Only one Client Template can be selected as Default.
7. Click the  button if you want to make the client template as default or click the
  button if you do not want to make the client template as default.
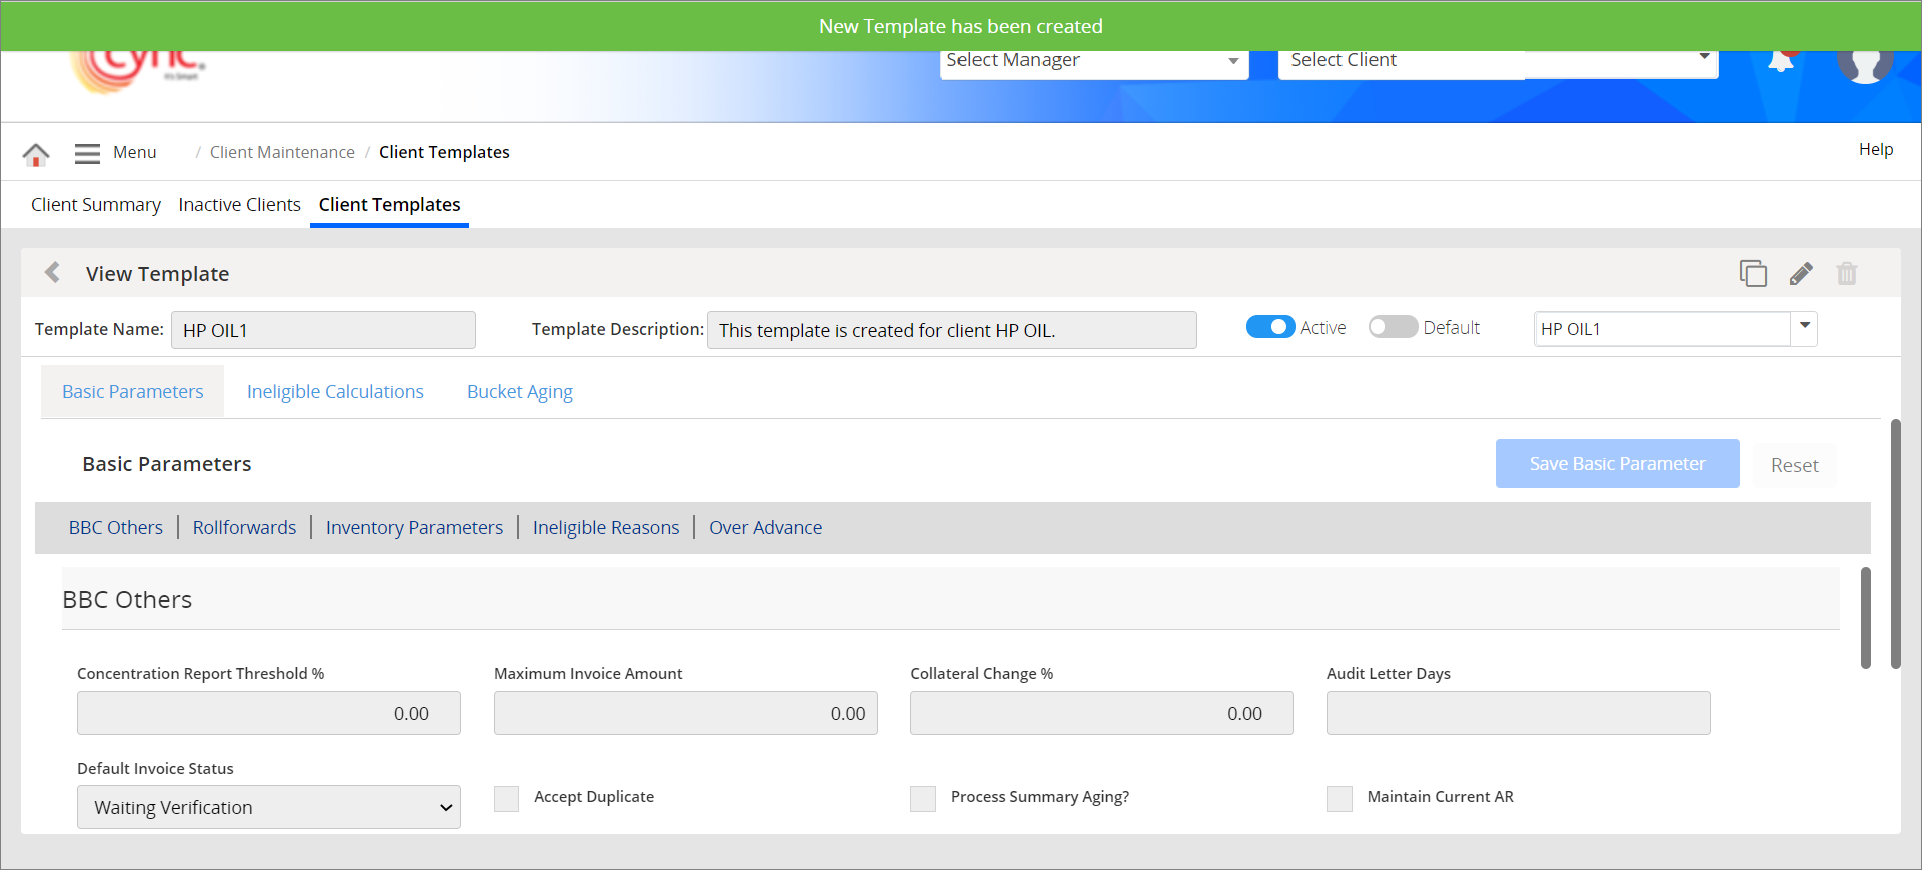
8. Click the ![]() button. The new client template is created and a success message “New Template has been created” appears.
button. The new client template is created and a success message “New Template has been created” appears.
Refer to the screenshot:
When user creates the new client template with the existing client template name, the system shows an error notification.
Refer to the screenshot:
To clone the Client Template, perform these steps:
1. Go to Client Maintenance → Client Templates.
2. Select the client template that you wish to clone.
3. Click the  button to clone the client template. A Clone Template page appears.
Refer to the screenshot:
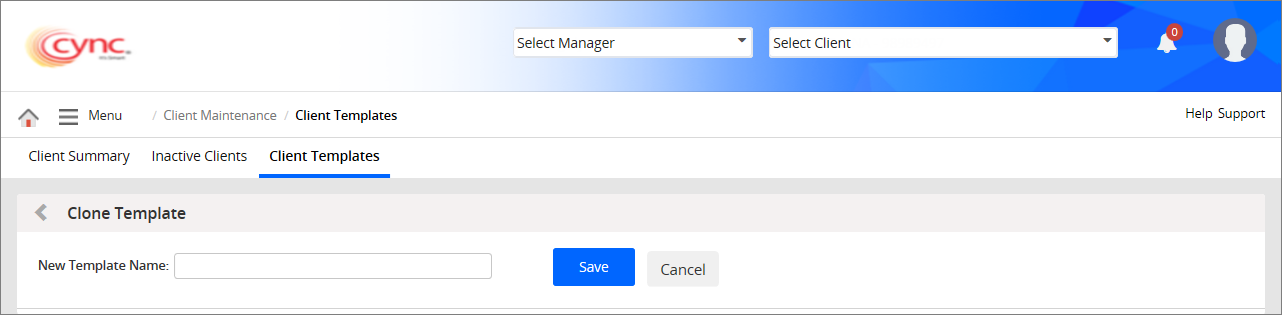
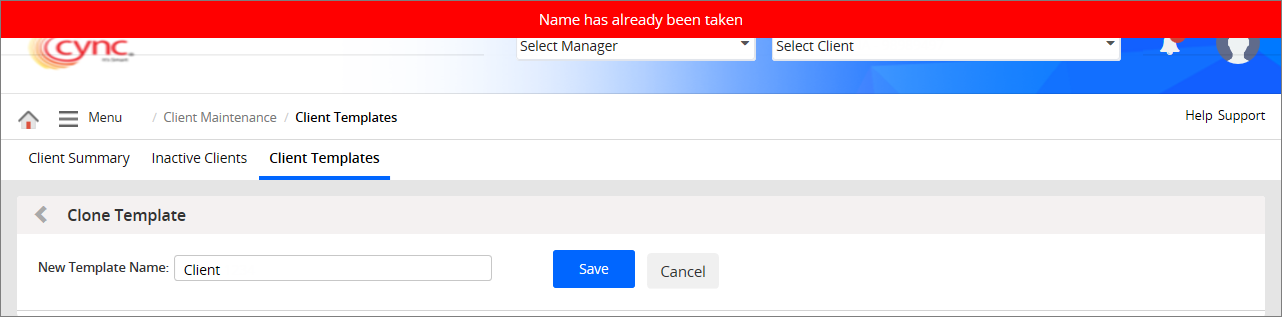
4. In New Template Name field, enter the new cloning template name.
The system shows an error notification when user creates the cloning template with the same client template name.
Refer to the screenshot:
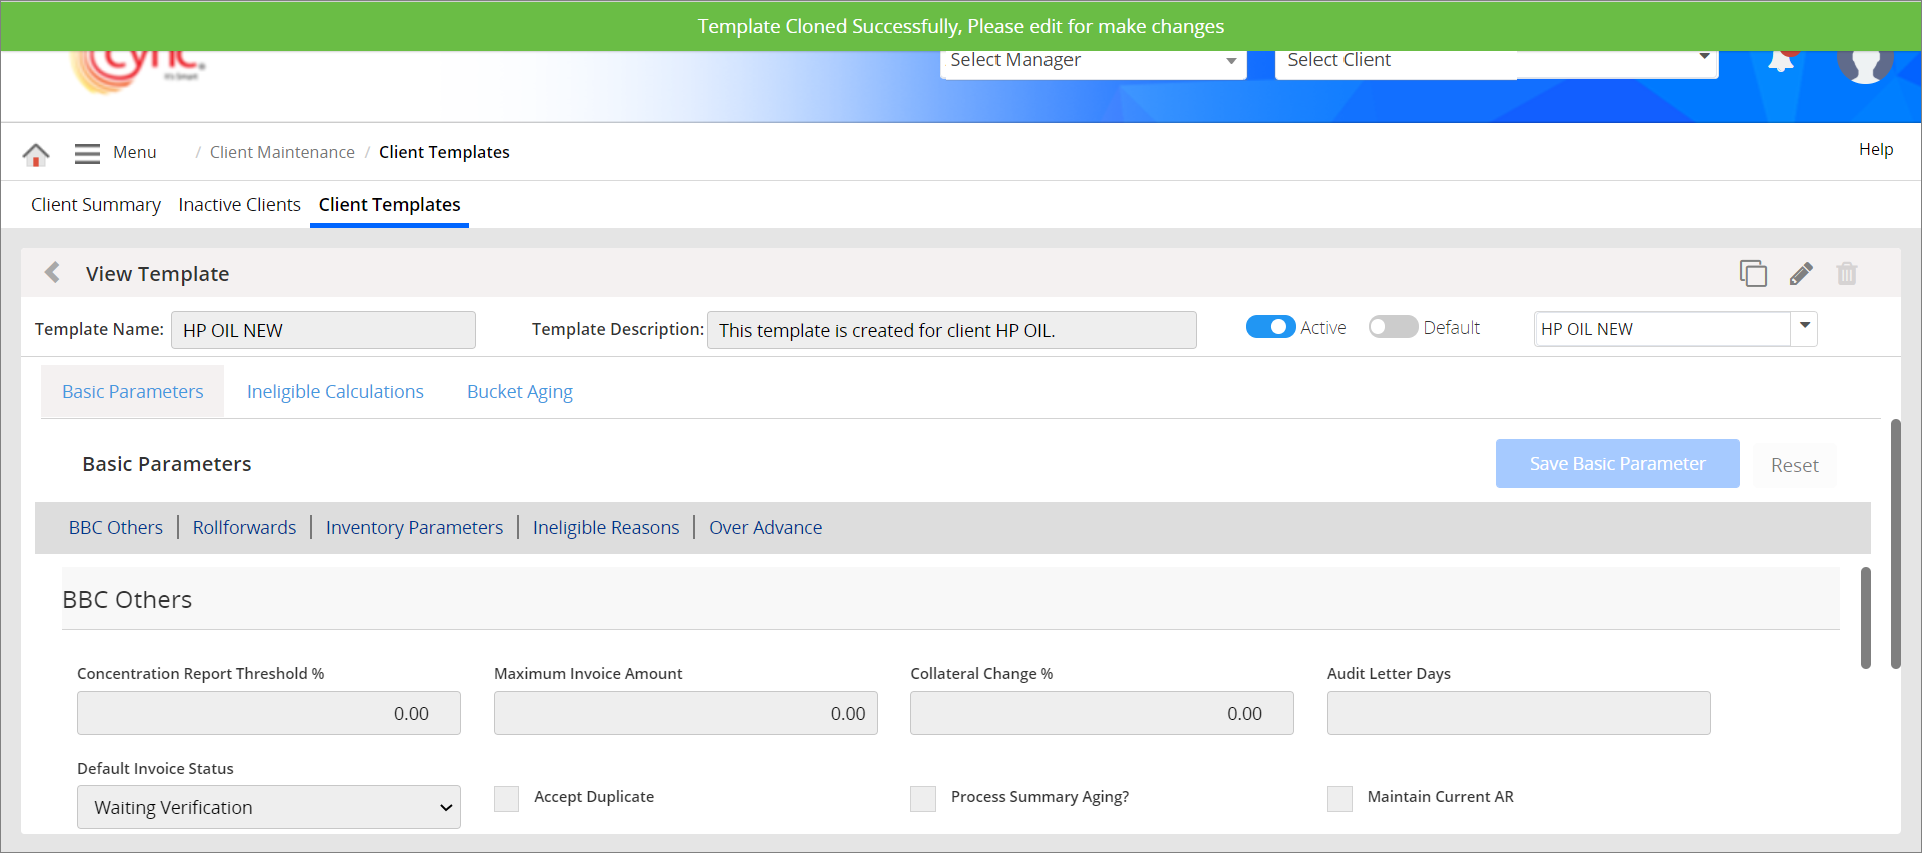
5. Click the  button. The Client Template is cloned and a success message “Template Cloned Successfully, Please edit for make changes”.
Refer to the screenshot:
To edit the Client Template, perform these steps:
1. Go to Client Maintenance → Client Templates.
2. Select the client template that you wish to edit.
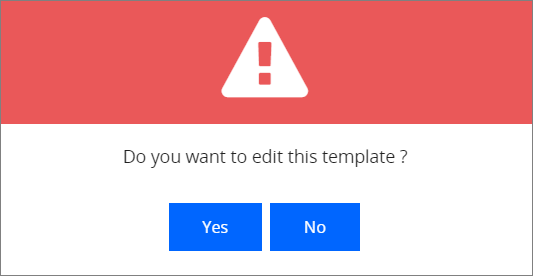
3. Click the button to edit the client template. A pop-up window appears.
Refer to the screenshot:
4. Click the button to cancel client template editing process.
5. Click the  button to edit the client template. An Edit Template page appears.
Refer to the screenshot:
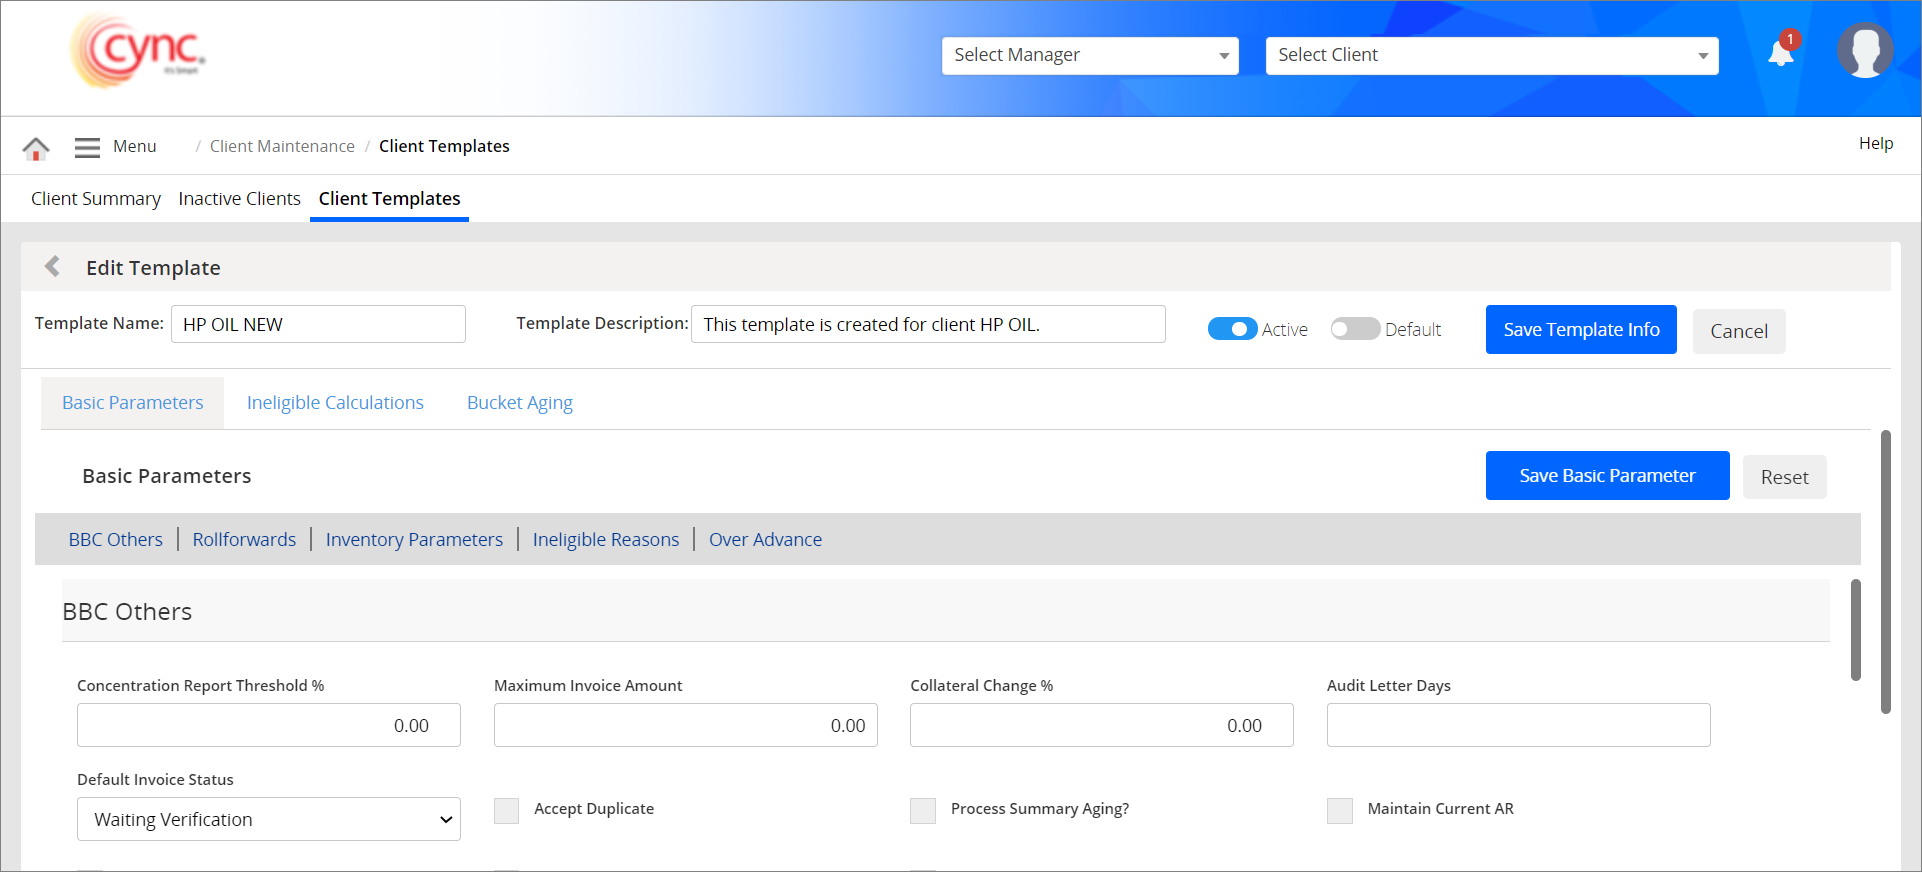
4. Edit the fields as required.
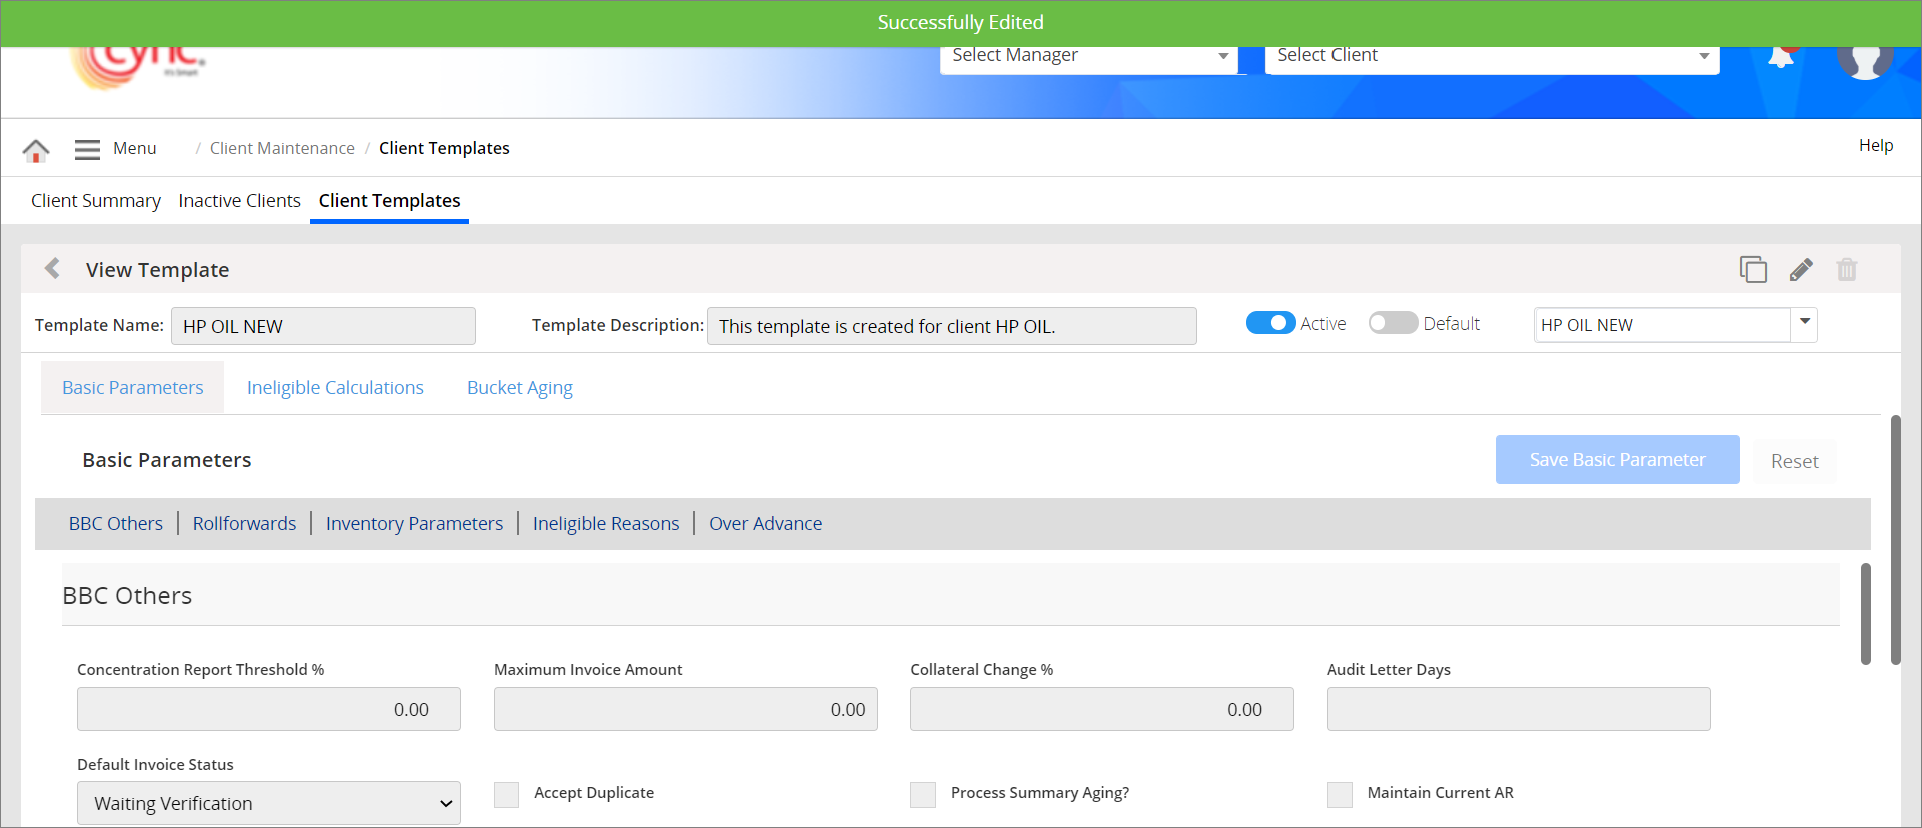
5. Click the ![]() button. The client template is edited and a message "Successfully Edited" appears.
button. The client template is edited and a message "Successfully Edited" appears.
Refer to the screenshot:
To delete the Client Template, perform these steps:
1. Go to Client Maintenance → Client Templates.
2. Select the client template that you wish to delete.
3. Click the  button to delete the client template. A pop-up box appears.
Refer to the screenshot:
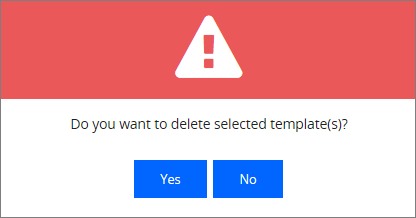
The system allows the user to delete only inactive client template.
4. Click the button if you want to delete the selected inactive client template or click the ![]() button if you want to cancel the client template deletion process.
button if you want to cancel the client template deletion process.
Refer to the screenshot:
To assign the Client Template to the specific client/multiple clients, perform these steps:
1. Go to Client Maintenance → Client Templates.
2. Select the client template that you wish to assign it to the client.
You may select Blank Template which is a blank template of Basic Parameters, to the selected client.
3. Click ![]() button. An Assign Template page appears.
button. An Assign Template page appears.
Refer to the screenshot:
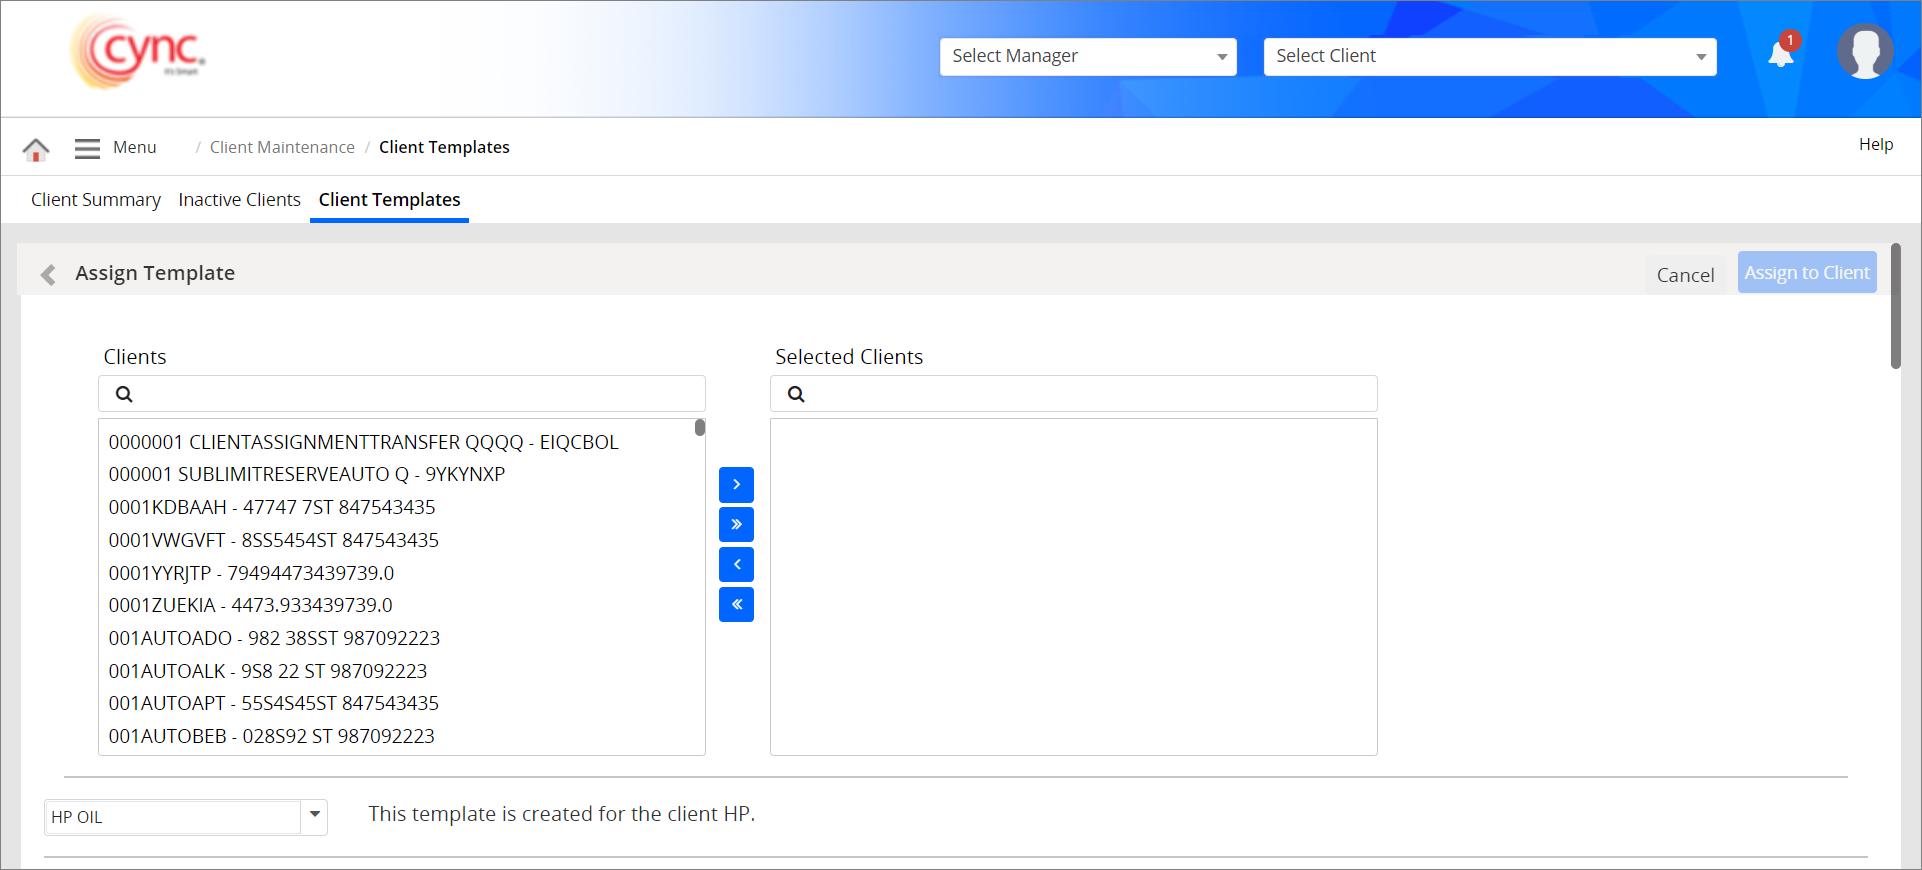
4. Select the client template from drop-down list.
5. Edit the parameter settings such as Basic Parameters, Ineligible Calculations and Bucket Aging, as required.
6. In Clients field, select one/multiple client name to assign the client template.
Refer to the screenshot:
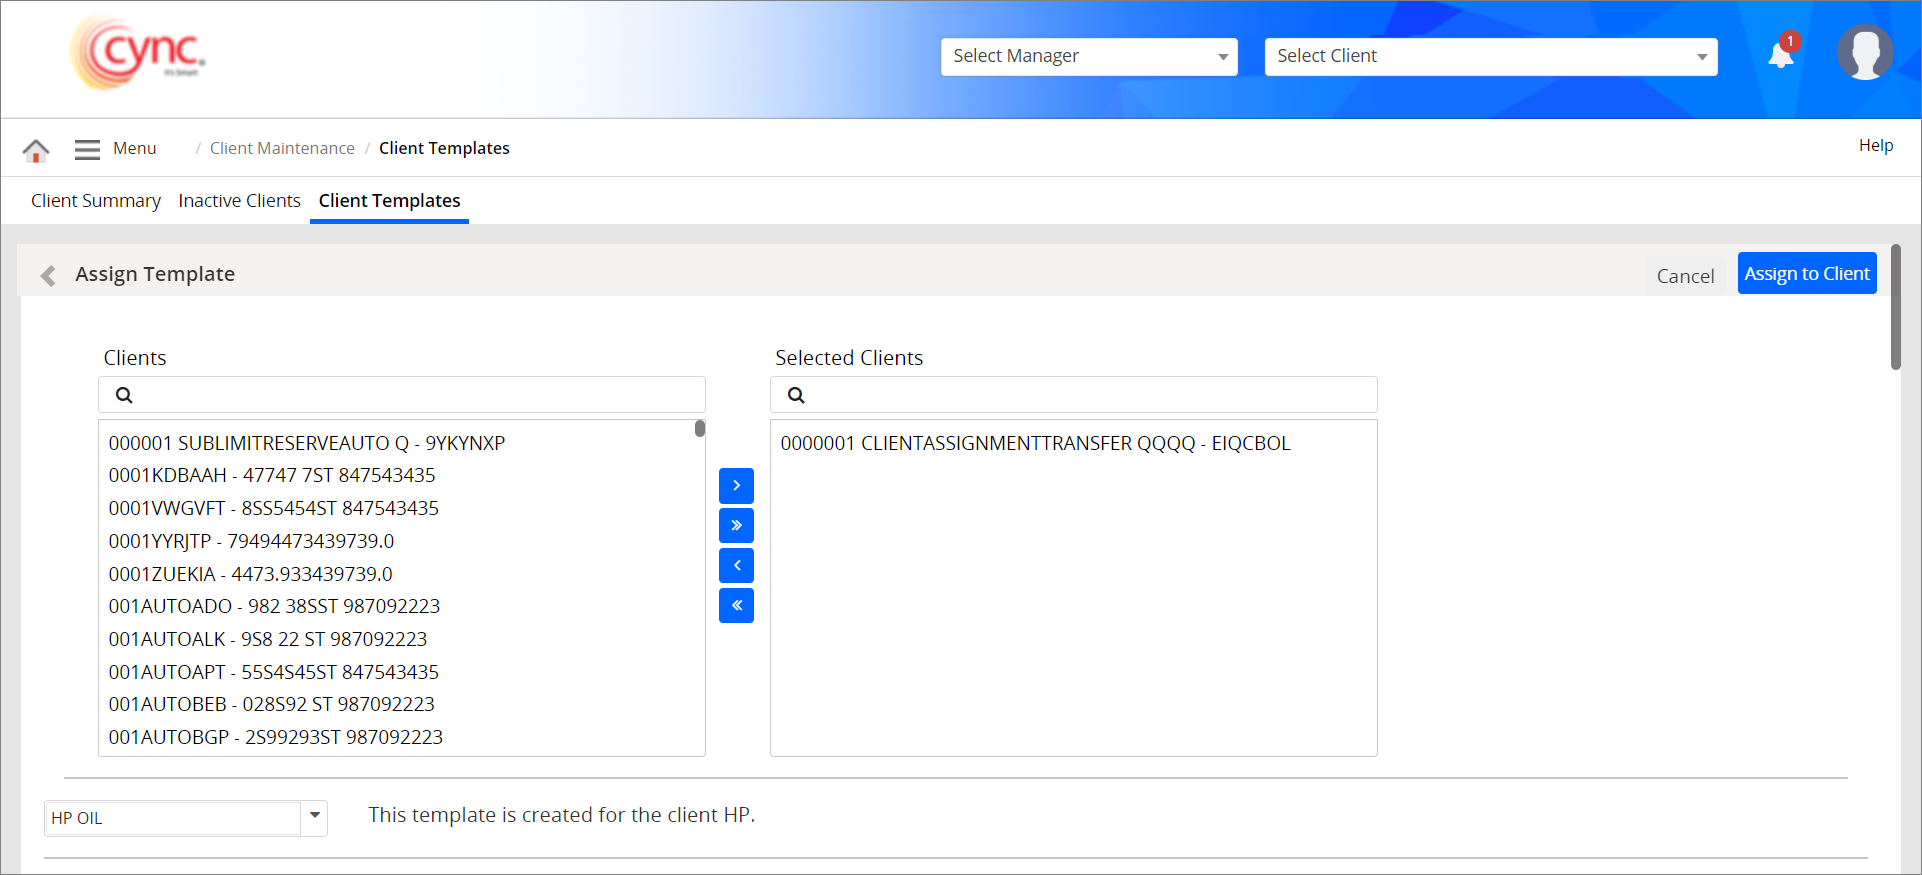
7. Click the  button to assign the client template to the selected client.
Information:
 button to assign the template to all the clients.
 button to unassign the client template for the selected client.
 button to unassign the client template for all the clients.
8. Click the  button. A pop-up screen appears.
Refer to the screenshot:

Information:
One Time Use and Do Not Update Template – If selected, the updated/modified parameters are assigned to the selected client’s parameters only in client level as an one time use and will not be stored in a template level.
One Time Use and Update Template – If selected, the updated/modified parameters are assigned to the selected client’s parameters in client level as one time use but stored in a template level.
One Time Use and Create Copy of Template – If selected, the updated/modified parameters are assigned to the selected client’s parameters in client level as one time use. The system creates a copy of the client template with the updated parameters and displays the copy of the client template in Client template page.
Refer to the screenshot:
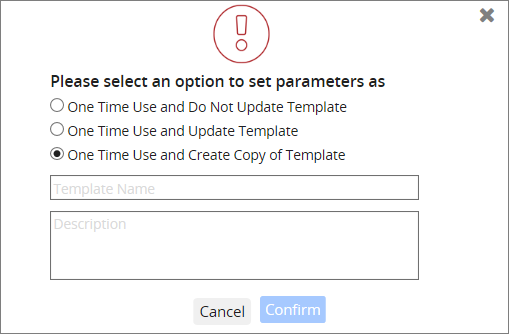
In Template Name field, enter the copy of the template name. In Description field, enter the description about the copy of the client template.
9. Select any one of the option to set parameters.
10. Click the  button. The template is successfully assigned to the selected clients.
Refer to the screenshot:
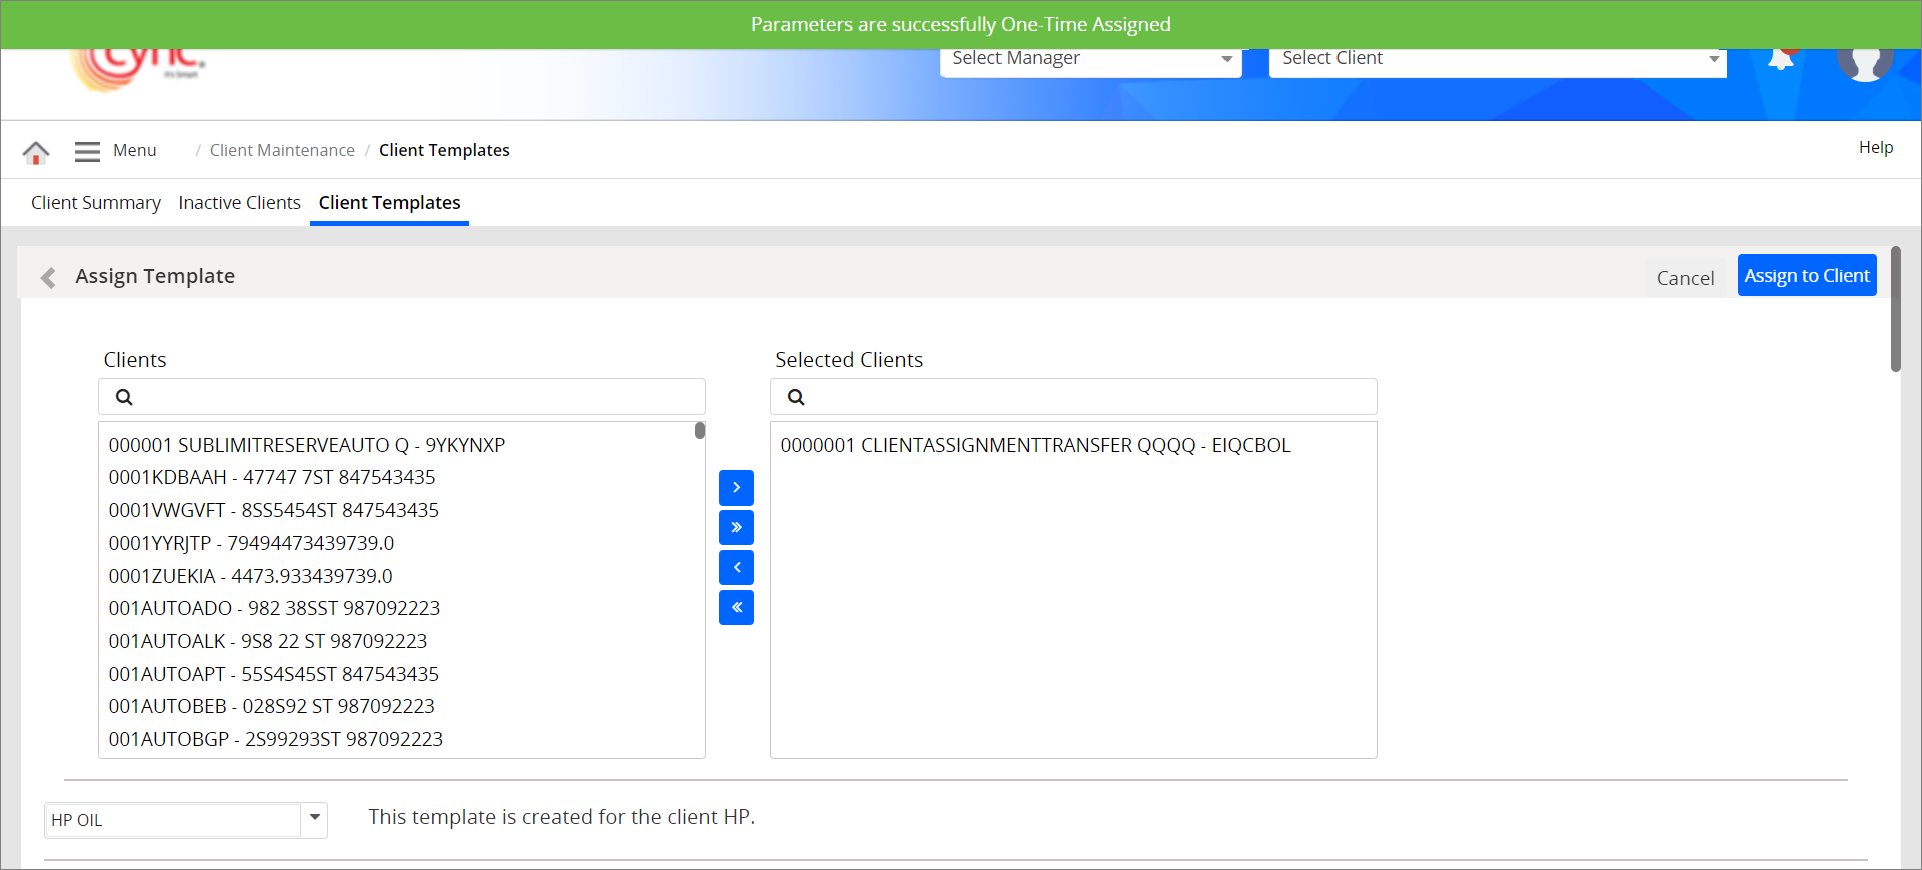
When Client Template is assigned successfully to the selected client/clients, changes made in Parameter settings such as Basic Parameters, Ineligible Calculations, and Bucket Aging will be applied to selected client/clients only.
For more information about fields and descriptions for Parameter settings (Basic Parameters, Ineligible Calculations and Bucket Aging), please reference ABL Basic Parameters page, Ineligible Calculations page and Bucket Aging page.